Search This Blog

Showing posts with label Cake Pops. Show all posts

Sunday, December 4, 2011

Cake Pop Bouquets for my Sister's Engagement Party

My sister, my mom and I had a blast creating the "edible centerpieces" for my sister's engagement party a few weeks ago.  They were original, creative and delicious! 
To make these centerpieces here are the items you will need:
-all of the ingredients to make basic cake pops
-a mix of longer and shorter lollipop sticks
-Fiskars X-Large Easy Squeeze Punch (The link is similar to the one I bought but not exactly the same.)
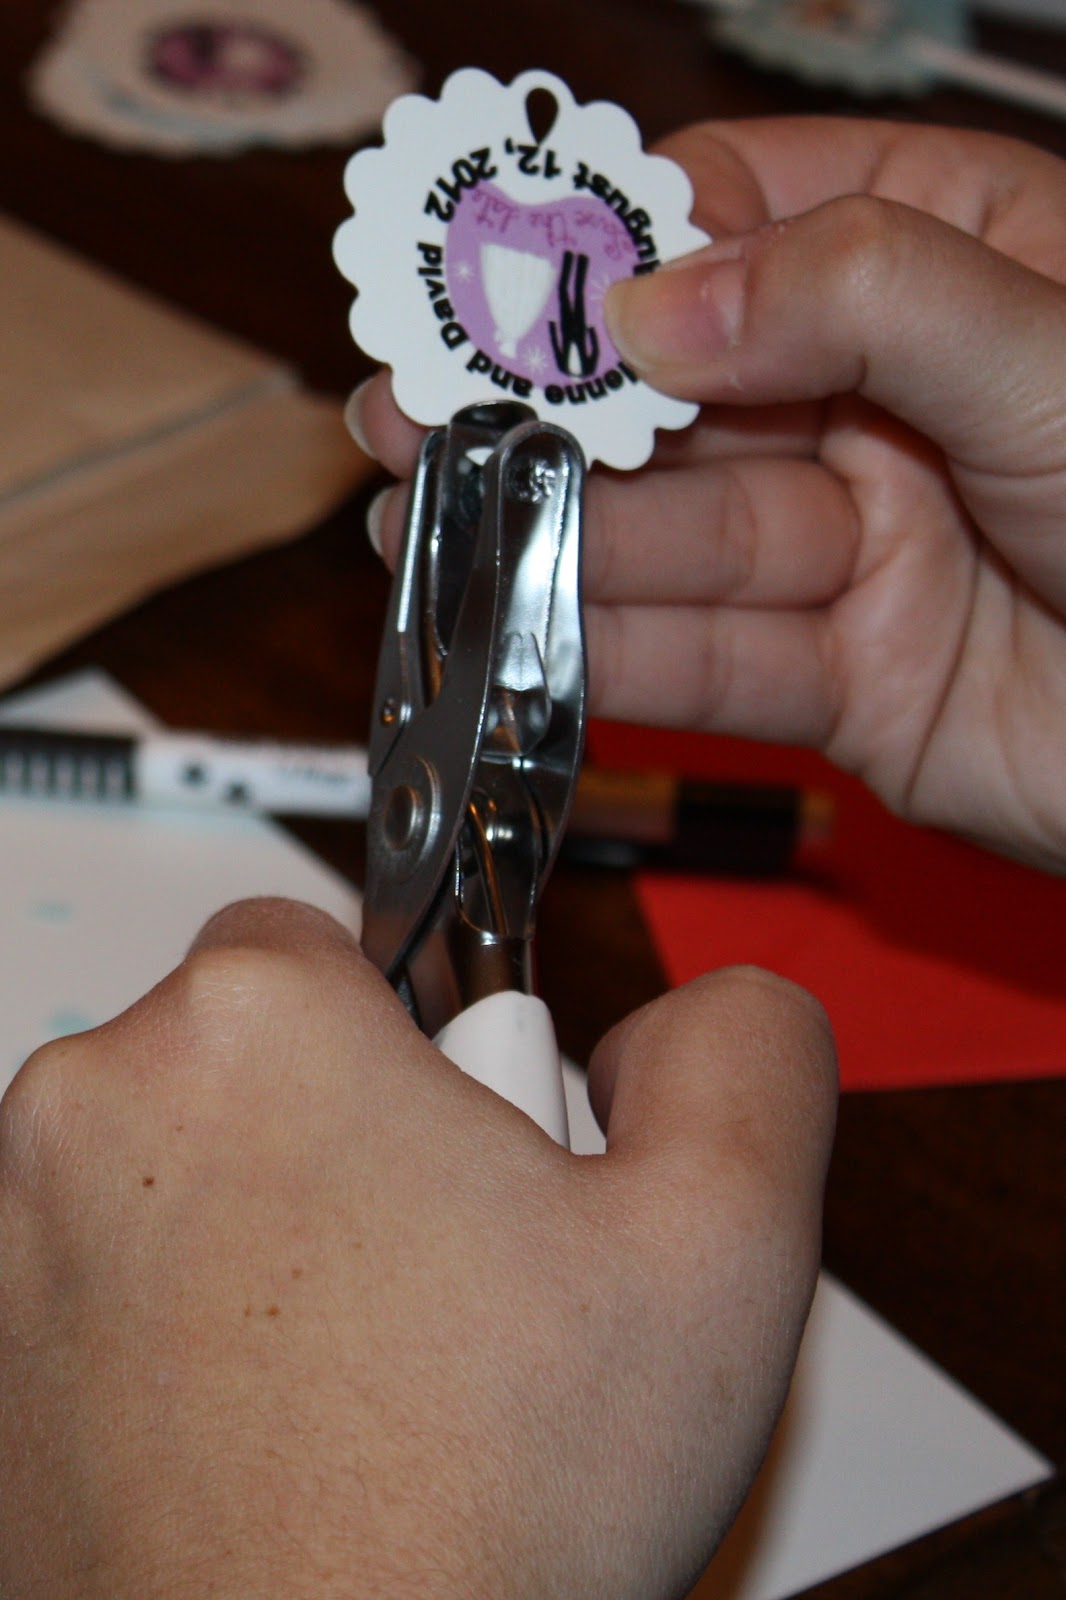
-tear drop hole punch (pictured below)
-"Save the Date tags" (that I created myself and so can you!)

-vases of some sort or planter (My sister bought these adorable, purple planters at IKEA)
-styrofoam balls (which I found at Dollarama)
-rocks (also bought at Ikea)

To begin, I created two different "save the date" tags on the computer and printed them at Staples on cardstock. The firmer paper allowed them to slide through the lollipop sticks without ripping. I used my newly purchased scalloped squeeze punch to cut out all of the tags.  This was a lot easier than cutting circles by hand!
I had to make sure that I left enough space above and below the design to punch teardrop holes in order to slide the stick through the tags.

Aren't the tags cute?
My sister just loved them!
I didn't manage to take pictures of the 8 cakes that my mom and sister baked or the huge mess that we made in my mom's kitchen the day after she had a cleaning lady at her house! Nonetheless, the centerpieces turned out very well.  See below for some pictures.
My sister was thrilled that she bought crystal sprinkles to add a little character to the top of the pops. If you choose to do the same, be sure to sprinkle them onto the pops immediately after they are dipped in the candy melts, as the candy melts dry very quickly.

Adrienne very neatly arranged each pop into its place in the planter.  The styrofoam allowed the sticks to set right into place without moving.

Mazel tov Adrienne and David!

Sunday, October 30, 2011

Pumpkin Cake Pops

Do you ever wonder what to do with leftover cupcakes or cake?  

Use the leftovers to make cake pops! Remove the majority of icing from the cupcakes and place cupcakes into a large bowl.

Crumble up until dough sticks together when rolled into a ball.  If the crumbs do not stick, add a little more icing. Since this icing was orange, the cake balls became orange too...perfect for Halloween!

Form cake balls into desired pumpkin shapes. (I used the side of a spatula to form ridges in some of the cake balls to make them look more like pumpkins.)  Place in the freezer to chill for about 20 minutes.

Boo!!! 
Dip away and add desired toppings.

To make the stems, I moulded small pieces of Tootsie Roll. I crumbled up an Oreo cookie and used random crumbs to make the mouths and piped the eyes with melted chocolate.

Ever wonder what the inside of a cake pop looks like?  In this case, it is orange, just like the inside of a pumpkin. For a basic cake pop tutorial, click here.

Have a safe and happy Halloween everybody!
p.s. Doesn't my classroom door, decorated by my students look great?!

Sunday, September 25, 2011

Carrot Cake Balls

I just love carrot cake.  Especially when I make it, because I know that it is nut free! But what could be better than the cake itself?  CARROT CAKE BALLS!

To make carrot cake balls or carrot cake pops, make a fresh carrot cake or crumble up any leftover carrot cake and add cream cheese frosting to bind the crumbled cake together.

Follow the same steps as you would to make regular cake pops.

Then, drizzle with your favourite coloured candy coating. I decided to skip the step of dipping the entire ball first since the cake and the icing is already very sweet.
Gently peel the parchment paper away from the cake ball and hardened candy coating and transfer cake balls onto a serving tray. Enjoy!

Wednesday, July 20, 2011

Cake Pops for the End of the School Year

I'm a little late at posting these cake pops. I made these for a friend's daughter to bring to school as an end of the year treat.  Lucky classmates she has!

This one's for you Amanda.

Sorry I have been M.I.A. over the past few weeks. I am in the process of moving and didn't realize how busy I would be!

For a cake pop tutorial, click here.

Sunday, June 19, 2011

Basketball Cake Pops

How will you be celebrating Father's Day? Sports themed cake pops are a great gift for dad. This order was for a basketball junkie!

For these cake pops, I used chocolate cake mixed with cream cheese frosting. I began by melting orange candy melts and added a few chocolate brown ones to darken the orange color just a bit. First, I dipped the cake balls into the melted candy.  For basic cake pop instructions, click here. To learn how to decorate these cake pops, read below.

Once all of the cake pops were dry, I began to decorate each one. I used black royal icing to add the lines of the basketball. I place each pop into a styrofoam base, one at a time, so it would stand alone. Next, I marked the middle point on the top of the pop.  I then drew two lines that looked like a plus sign.  One was drawn from the left side to the right, and the other from the front to the back. Finally, I added a curved line to either side. It really helped to look at a photo of a basketball.  Another idea would be to use an edible marker to draw the lines on the cake pop first, and then trace over them with the royal icing.

A sturdy hand is helpful when adding the details.

I think they look adorable.

To make them even cuter, add a father's day tag to the lollipop stick.  Print any tag onto cardstock. Cut it out and poke two holes in the tag, one at the top, and another at the bottom. Slide through stick.

I printed these adorable, free cupcake toppers (that I used as tags), from Tip Junkie.

Enjoy!

Happy Father's Day to all of the dad's celebrating today!

Sunday, June 5, 2011

Thomas the Train Cake Pops

I made a train of cake pops for a birthday party this weekend.  They complimented Thomas' colours. Since it was a second birthday party, each pop was finished with a number 2.

To make these cake pops, begin by baking a white cake and let it cool for a few hours. Break the cake into crumbs and add your favourite frosting.  Using the back of a spoon, mix the icing and the crumbs together.  I added chocolate frosting to the white cake crumbs.

Use a mini ice cream scoop to scoop balls that are even in size.

Then, roll the balls with your hands and set on a parchment lined cookie sheet. Place in the freezer for about 20 minutes.

To make the pops, use 6 inch lollipop sticks.

Dip in melted candy and tap off excess coating. Place in a styrofoam tray to set.

Melt red candy melts and spoon into a piping bag.  Pipe the number 2 on each cake pop.

Place in the boxcars and add a Thomas train at the front. To make the boxcars I used shoeboxes and filled them with styrofoam. I covered the boxes with fadeless red paper as though I was wrapping a gift. Using a wooden skewer, I punched holes in specific places so the cake pops would easily fit in.

Package each pop individually by placing a clear cellophane bag over top each one, bunching the bag together at the base of the pop. Tie with light blue ribbon. Curl ends of ribbon with the sharp edge of a pair of scissors. 

Bring to a party and give away as loot bags.

For a more detailed tutorial explaining how to make cake pops, click here.
Happy Birthday Oliver!