Search This Blog

Showing posts with label Cupcakes. Show all posts

Sunday, October 23, 2011

Mini Chocolate Cupcakes

Mmm...Doesn't really look like a mini does it?

But it is! I used my brand new Wilton mini muffin pan to make these mini chocolate cupcakes.  They are the perfect snack. When transferring the batter after it has been mixed together, I recommend pouring the it into a piping bag with a sealed tip.  Next, cut the tip of the piping bag and pipe the batter into each muffin liner or pan. This helps to avoid a big mess. (I didn't have a chance to take any pictures as I was piping, but click here for a visual.)

I used these sprinkles to add a little color to the vanilla frosting.

My mother-in-law was visiting from Montreal so I had an assistant this week...

To adorn these perfect, tiny, little cupcakes.
Thanks Kathy!
Two bites and all gone.
Enjoy!

Sunday, September 18, 2011

Cupcakes with Mini Cookie Toppers

Congratulations to one of my oldest and best friends Joelle, on the birth of her second baby boy! I brought these cupcakes to Issie's bris this summer. Issie is Rowan's brother. Remember when I made these cookies for Rowan's first birthday? They were yummy!

But back to the cupcakes I made to celebrate Issie's birth....To make these cupcakes, I used my favourite chocolate cupcake recipe.  You already know how much I like the Ghirardelli one!
I used Wilton colors to colour this icing blue, although it does look a little turquoise, doesn't it?

After piping the buttercream icing onto each cupcake, I added a cute little sugar cookie on an angle. As soon as I bought these mini baby cutters (from a dollar store near my house!) I knew that they would be the perfect size to use as cupcake toppers. I also used these cutters when I made these cookies! 

I loved the colors! And the sweetness of the icing, the cookies and the cake...Milk please!


Yes, I am holding baby Issie.  He is soooooo cute! Just look at his tiny toes and feet!
Mazel tov Joelle and Adam!

Tuesday, August 16, 2011

Heart Krispie and Cupcakes for my Sister's Engagement!

My sister got engaged at the beginning of August!  Our entire family is thrilled.  This exciting news was a good excuse for me to make time to bake!

When my sister and her fiancĂ©e came over to share the excitement with the family, I made a Rice Krispie heart.  To model rice cereal treats into any shape, cover with saran wrap and roll out with a rolling pin.  Place hands over saran to soften edges and form into desired shape. Sprinkle with candy or jimmies to add a little crunch, and then add a message with buttercream icing. This message had to be in turquoise, since it is my sister's favourite color. 

I always suggest cutting rice cereal treats as soon as you make them.  This avoids difficulty later on and makes it easy to serve. All of the sticky marshmallows make it difficult to cut when it cools, as you can see for the expression on my sister's face!

Looks like I got approval from the groom to be. Thanks David! (He's easy...he likes all of my treats!)

My mom helped me bake these cupcakes that I brought to a Family Toast over the weekend.  To create this turquoise buttercream, I added about a half a teaspoon of Wilton teal icing color to buttercream icing. I used Wilton Tip 32 to decorate the cupcakes above.

To decorate these cupcakes I used Wilton tip 22.  I began by piping individual stars to form a circle around the border of each cupcake and continued to fill in the middle until no more cake was showing.

These cupcakes were "sweet!" Most importantly, Adrienne loved them!
Stay tuned for more "engagement/shower/wedding treats" throughout the year. 
It looks like there will be a number of celebrations!

Mazel Tov Adrienne and David!

Saturday, February 12, 2011

Vanilla Valentine's Day Cupcakes

Whoo! Snack is back for the staff at my school!  For all of you non-teachers, Friday's are FAT at most schools...we like to call them "Fat Fridays"...you know, treat day. At morning recess, the staff meet in the staffroom to schmooze over food and treats! 

Since I was on treats this week, I chose to make Valentine's Day cupcakes for my colleagues to enjoy. This time I made simple vanilla cupcakes with three kinds of frosting: pink buttercream, white cream cheese frosting and delicious chocolate buttercream frosting, (see recipe below) all topped with heart sprinkles.  The same heart sprinkles that I used for the eyes of my Valentine's Day Cake Pops!

I was inspired by tags created by Bakerella, and by Melissa, from Domesticated Lady.

I know, I need to get a circle punch!  When I made Duff's Cake Pops with tags, Nancy suggested that I buy some circle punches.  Haven't gotten around to it yet Nancy! Scissors did the trick, yet again this time!

I glued the tags onto some red popsicle sticks that I bought at Dollarama.

How cute!

Love the "Valentine, I think you're...WILD" tags!

Ghirardelli Chocolate Buttercream Frosting 
(Warning...this is sinful!)

6 tbsp butter softened
2-2/3 cups icing sugar
1/2 cup Ghirardelli Unsweetened Cocoa
1/3 cup milk
1/2 tsp vanilla

In bowl, beat butter until light and fluffy.  In a separate bowl, mix icing sugar with cocoa.  Blend sugar mixture with butter alternately with milk, beating well after each addition.  Beat until smooth.  Blend in vanilla.
(Frosts tops and sides of two, 9" layers.)

For other Valentine's Day ideas check out these posts:

Happy Valentine's Day!

Sunday, February 6, 2011

Red Velvet Cupcakes

Have you ever visited Ming's website called Ming Makes Cupcakes? My cousin Naomi sent me the link to her page a few months ago and I have finally tried a recipe form it. This Red Velvet recipe is one of her 33 delicious cupcake recipes. A perfect choice for Valentine's Day! On her site, it is Cupcake 4. However, she makes these cupcakes with a buttercream frosting, and I have used a cream cheese frosting.

Red Velvet Cupcakes
(Taken from Ming Makes Cupcakes)

1 1/4 cup flour
3/4 cup sugar
1/2 tsp baking soda
1/2 tsp salt
1 tbsp. cocoa powder
3/4 cup vegetable oil
1/2 cup buttermilk
1 egg
1 tbsp red food coloring
1/2 tsp white vinegar
1 tsp vanilla

Sift together flour, sugar, baking soda, salt and cocoa powder. In a separate bowl, whisk together oil, buttermilk, egg, food coloring, vinegar and vanilla.  While mixing at medium speed, gradually add dry mixture to wet mixture until just combined. Fill cupcake liners.  Bake at 350 for 25 minutes, or until an inserted toothpick comes out clean.

The recipe was pretty easy to make.

Key ingredient...red food coloring.

Each cupcake formed such a nice dome shape.

Perfect for a thin layer of delicious cream cheese frosting.

That's how I like it!

Yum!

But others prefer loads of icing!  These ones turned out so beautifully. They are made with the same cake, but contain many more calories due to the excess amount of cream cheese frosting!

So what kind of a cupcake lover are you? 
Do you love a cupcake with a thin layer of frosting and more cake, or, a cupcake loaded with frosting and just a bit of cake? 

Sunday, January 9, 2011

Cupcakes for RBC

Rich works for RBC. To kick off a Project, the company ordered some cupcakes with edible images of their logo.

The images were e-mailed to my friend Joy of Baked with Joy. She has a special printer that uses food colouring instead of ink to create images on edible paper. I am so excited...Rich just surprised me with a printer for this purpose. I can't wait to use it. I will now be able to print my own edible images!

For this project, I used scissors to cut out the images. But since then, I watched Ace of Cakes where I saw someone using a pizza cutter to cut out the images. I'll definitely try that next time.

Once the cupcakes fully cooled, I spread vanilla frosting on the first cupcake.

Next, I very gently placed the image on top of the frosting. The frosting is the glue that adheres the image to the cupcake.

After that, I used a star tip to pipe a golden yellow frosting border around the image.

The border hides all of the original frosting as well as the edges of the image.

I also made some white sugar circles out of royal icing and piped some of the project names on other cupcakes.


All done!

Chillin' in the fridge ready for delivery.
Thanks RBC.

Thursday, December 9, 2010

Bakerella in T.O.

What a day!

I would never in a million years have thought that this would lead to this! Which would lead to this followed by this!  This brings us to December 4, 2010.  The day that Rich and I met Angie Dudley, a.k.a. Bakerella! 

Saturday Morning:
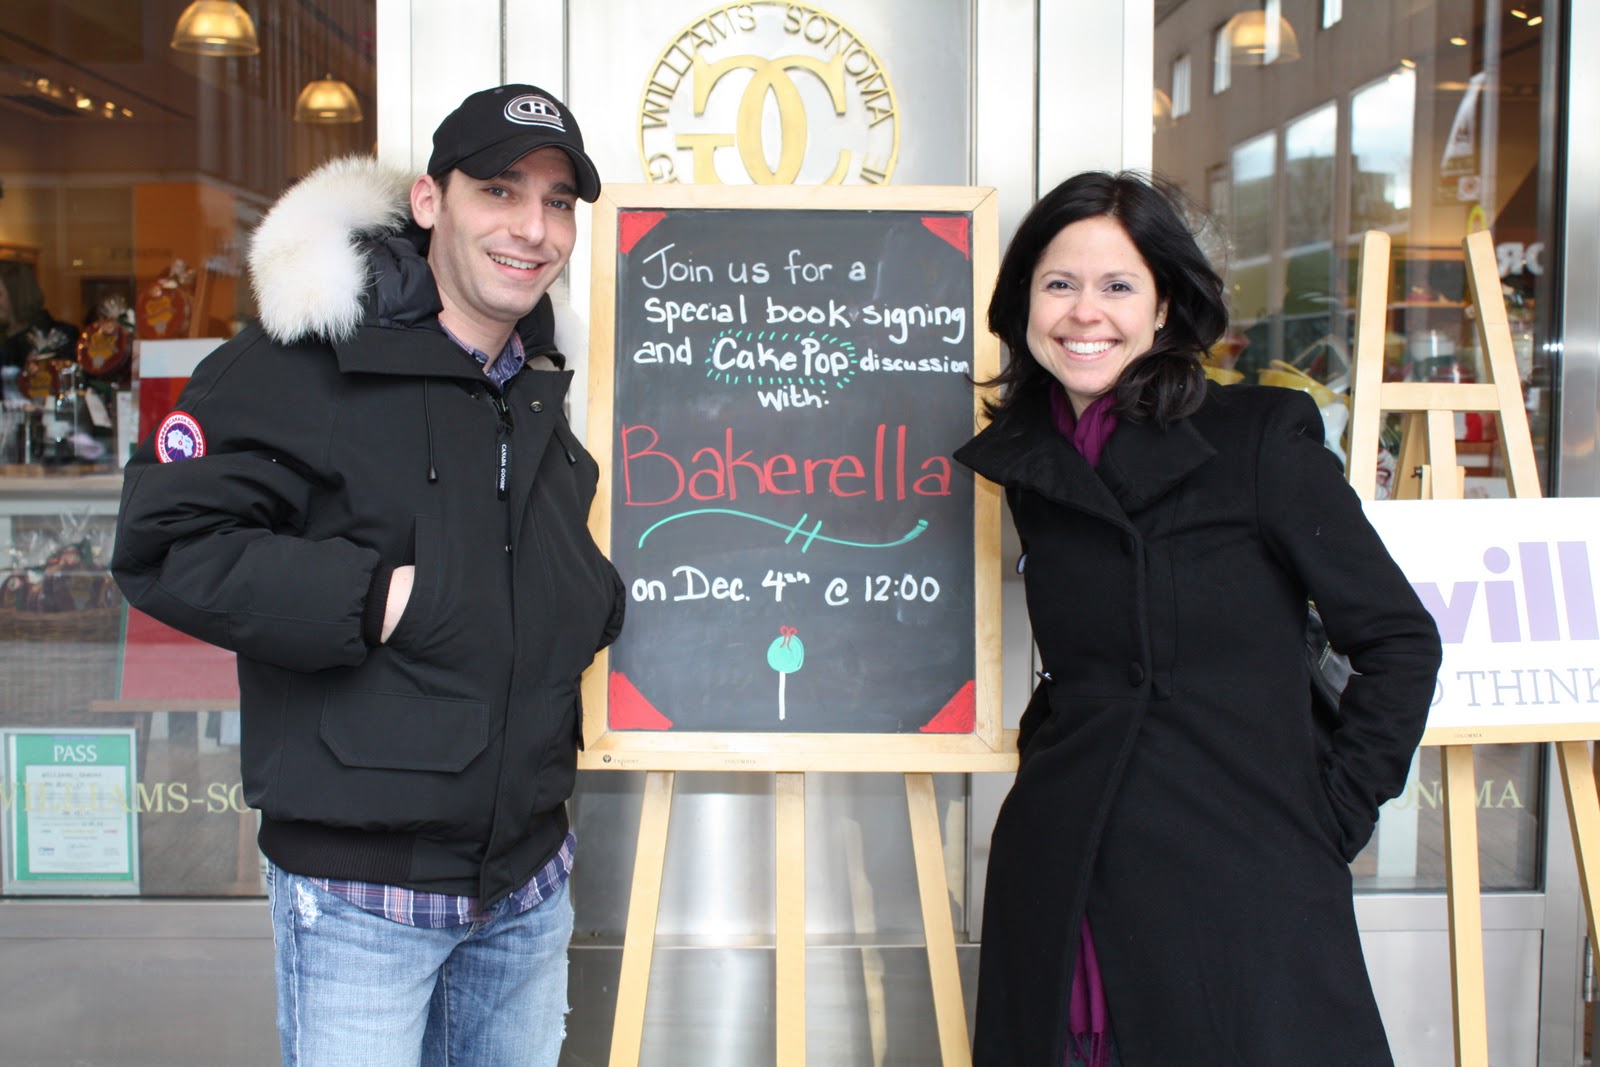
Saturday began with a thrill for Rich and I since Bakerella was in town for the signing of her new book, Cake Pops.  All of the excitement took place at Williams Sonoma on Bloor Street. 

What was even more exciting...
As soon as we got to the store, the employees at Williams Sonoma knew exactly who we were (once Rich mentioned our names) and led us upstairs to meet with Bakerella.  She gave Rich the biggest hug and began to tear up as soon as she saw me. It was the first time we had met in person.  She is definitely one of the sweetest people we have ever met.

Beside her in the photo above is Roseanne Dela Rosa, associate editor of Weddingbells magazine.

As soon as she finished her interview with Angie, she interviewed Rich and me for an article she will be writing for an online feed of Wedding Bells. That was pretty cool! Rich was super excited!

Saturday Afternoon:
By this time, it was well after the noon hour. After Angie answered many questions from her fans, she began the signing...She brought Rich and I right to the signing area (no line up for us). I noticed one girl whisper to her mom, "Mom, that's the couple who got married on Bakerella's site!" That was hilarious!  As we sat beside her so she could sign the book, she asked all of the fans in line if they remembered us.  No joke, people actually started cheering. It was nuts! We were a famous couple...for a few minutes anyway! 

The message written in fuchsia pink was perfect!

In this shot, she was eyeing my labels on the back of the cupcake sugar cookies I baked for her.

These girls were by far the most creative "gift bakers." Carolynn, (in the middle) drove in all the way from Ottawa just to have her book signed and meet Bakerella.

She and her friend Candy created their own original "Canadiana" to welcome Bakerella to town.  They included the most amazing moose and beaver cake pops! (Way, way more creative than my cookie pops.)

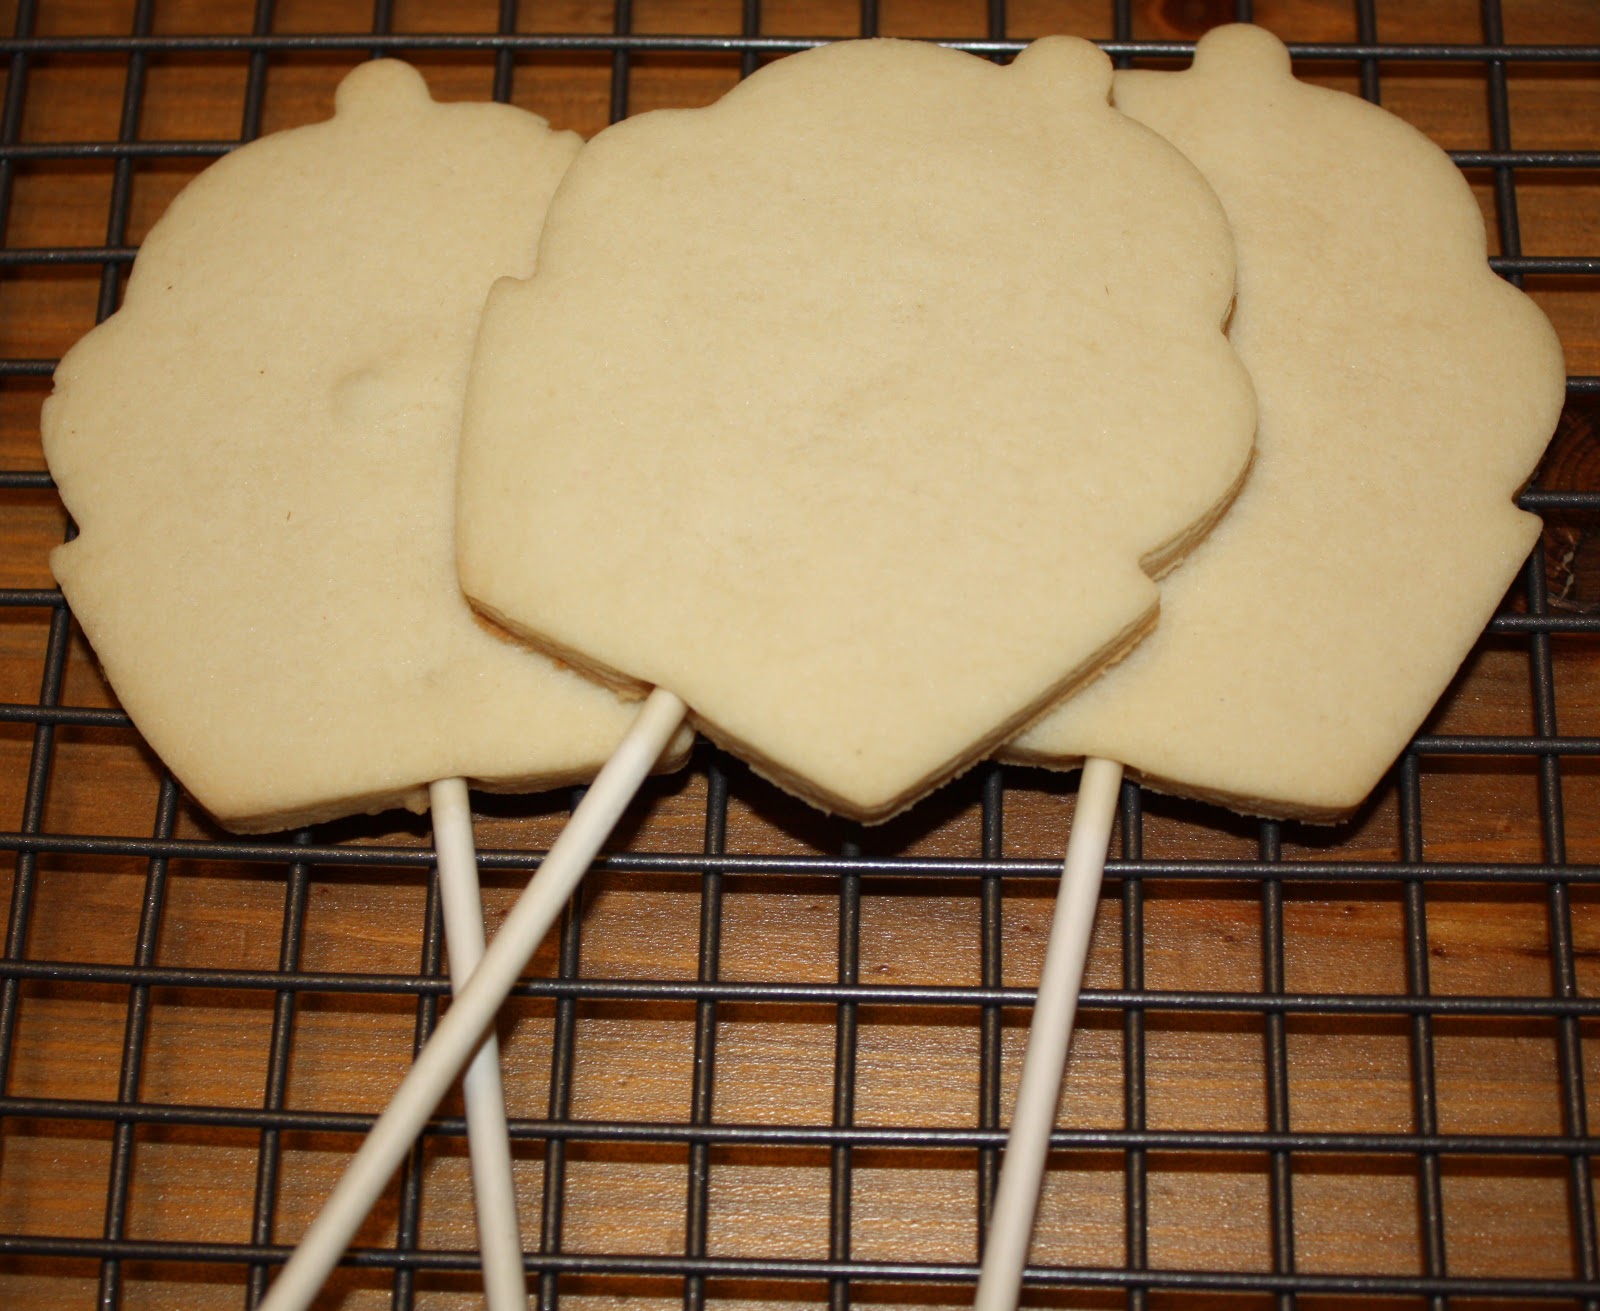
For those of you who would like a lesson on these cookie pops...here goes...they were were pretty simple to make.

I decided on cupcakes since Bakerella loves everything cupcake!

I used a skittle for the cherry on top and stuck it to the cookie with royal icing.

Then, I piped and flooded the cookie with more icing and added a few sprinkles as a garnish! Simple as a cupcake!  For my sugar cookie recipe, click here. For the recipe I use to make royal icing, click here. 

Saturday Evening:

Saturday evening was the "icing on the cupcake!" The rumours are true.  We went out for dinner with Angie and her mom!  And we had a blast! All joking aside people....Rich and I had dinner with BAKERELLA! We went out for dinner with the next Martha Stewart! The picture above was awesome...how funny is her mom?!  She was cracking up because as soon as our dessert, (buttery, phyllo pastry crepes filled with melted white chocolate and fresh blueberries) arrived at our table, Angie and I both took out our cameras and began shooting photos! I got a great shot of her taking a picture of the dessert!  

What a day!  It certainly was a memorable one for us. Thanks Angie, for including us in your first trip to Canada. We hope to meet again, perhaps on your next book tour?! 

Have you ever met a star before?