Search This Blog

Sunday, December 12, 2010

Reindeer Cake Pops

Happy Holidays! I'm Rudolph, and this is my buddy Dancer.  Mel created her own original version of us from Bakerella's new cookbook, Cake Pops! If you continue to read, you will learn how we can be made, "Mel style!"

Reindeer Cake Pops
(Adapted from Cake Pops, By Bakerella)

Materials you will need:
20 uncoated cake balls
1 pound chocolate candy coating
Deep, microwave-safe plastic bowl
20 lollipop sticks
20 pretzel sticks cut in half, but miniature alphabet E, F and Y shaped alphabet pretzels are recommended
Styrofoam block
20 skittles (red and purple)
Black edible-ink pen 

To decorate:

First, Mel had to bake a cake.  She decided to use half of a white cake mix to form our heads.  She created crumbs by brushing two quarters of cake together into a bowl.

The crumbs and work station looked like this.
After adding and mixing about two spoonfuls of vanilla frosting to the crumbs to bind the crumbs together, 20 cake balls (a.k.a our heads) began to take shape.  Mel put us into the freezer for about 20 minutes.  Boy was it cold in there! We managed to survive the Arctic-like temperatures and were then dunked into melted chocolate candy melts. Yippee! I loved swimming in chocolate! I felt like Augustus Gloop from Charlie and the Chocolate Factory!

Once my friends and I escaped from the pool of chocolate, our skittle noses were immediately attached. Some of them red and the others purple.
The ability to see and to communicate was ours at last! Mel used royal icing and purple sprinkles for eyeballs and an edible marker for our mouths! This time, her marker did not work so well, so she is thinking about buying the Americolor Food Marker Writers for next time.

We couldn't hear a thing since Mel forgot all about our pretzel ears. She left us earless for over an hour until she returned from the grocery store. To her disappointment, they did not have the recommended alphabet shaped pretzels to use as ears, so she settled for pretzel sticks. I felt like I was getting an ear infection as she glued the pretzel sticks to my head.  She used additional melted chocolate as glue to adhere them onto our chocolate heads!
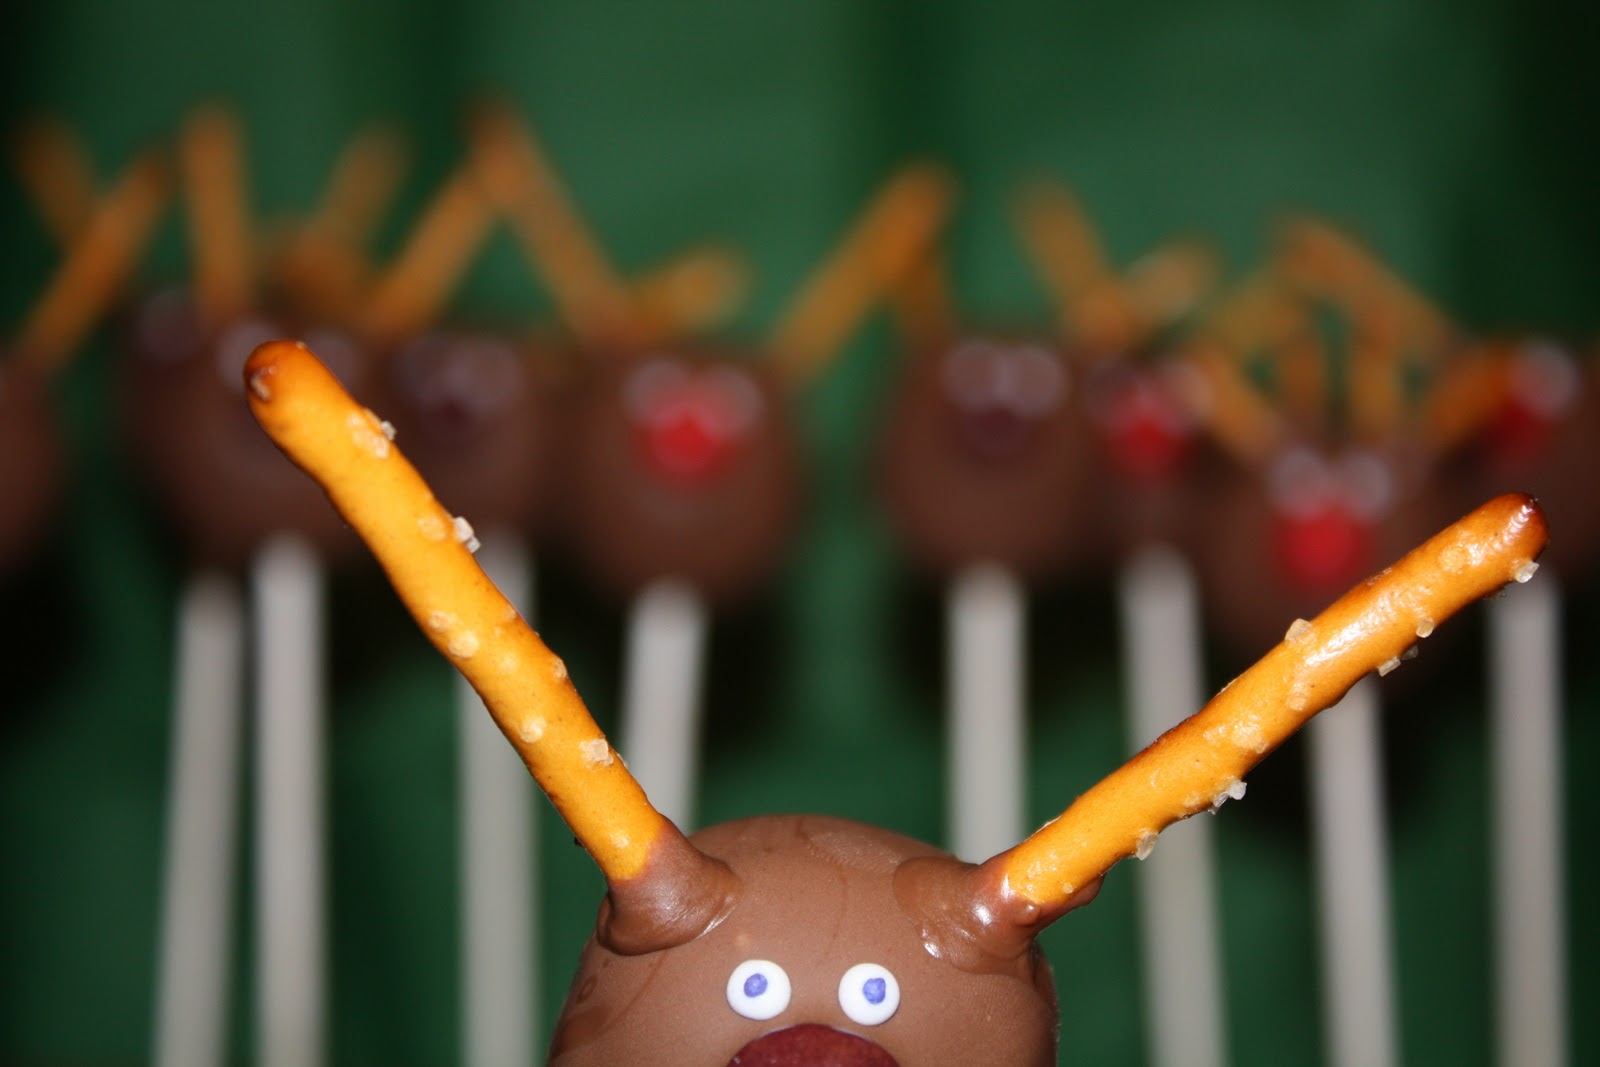
Peek-a-boo! Are you still listening?
  Major close up!  Of my ears of course...Just in case you couldn't see them in the last shot!

So there you have it...Mel has completed us!
All of us! And sadly, we will soon disappear.

Into the tummies of little boys like Ryan and big boys like Rich.

Ready.  1, 2, 3, and...Bite!

Happy Holidays!
(By the way, if anyone knows where I can find alphabet pretzels in Toronto, it would be great to know for next time!)

Thursday, December 9, 2010

Bakerella in T.O.

What a day!

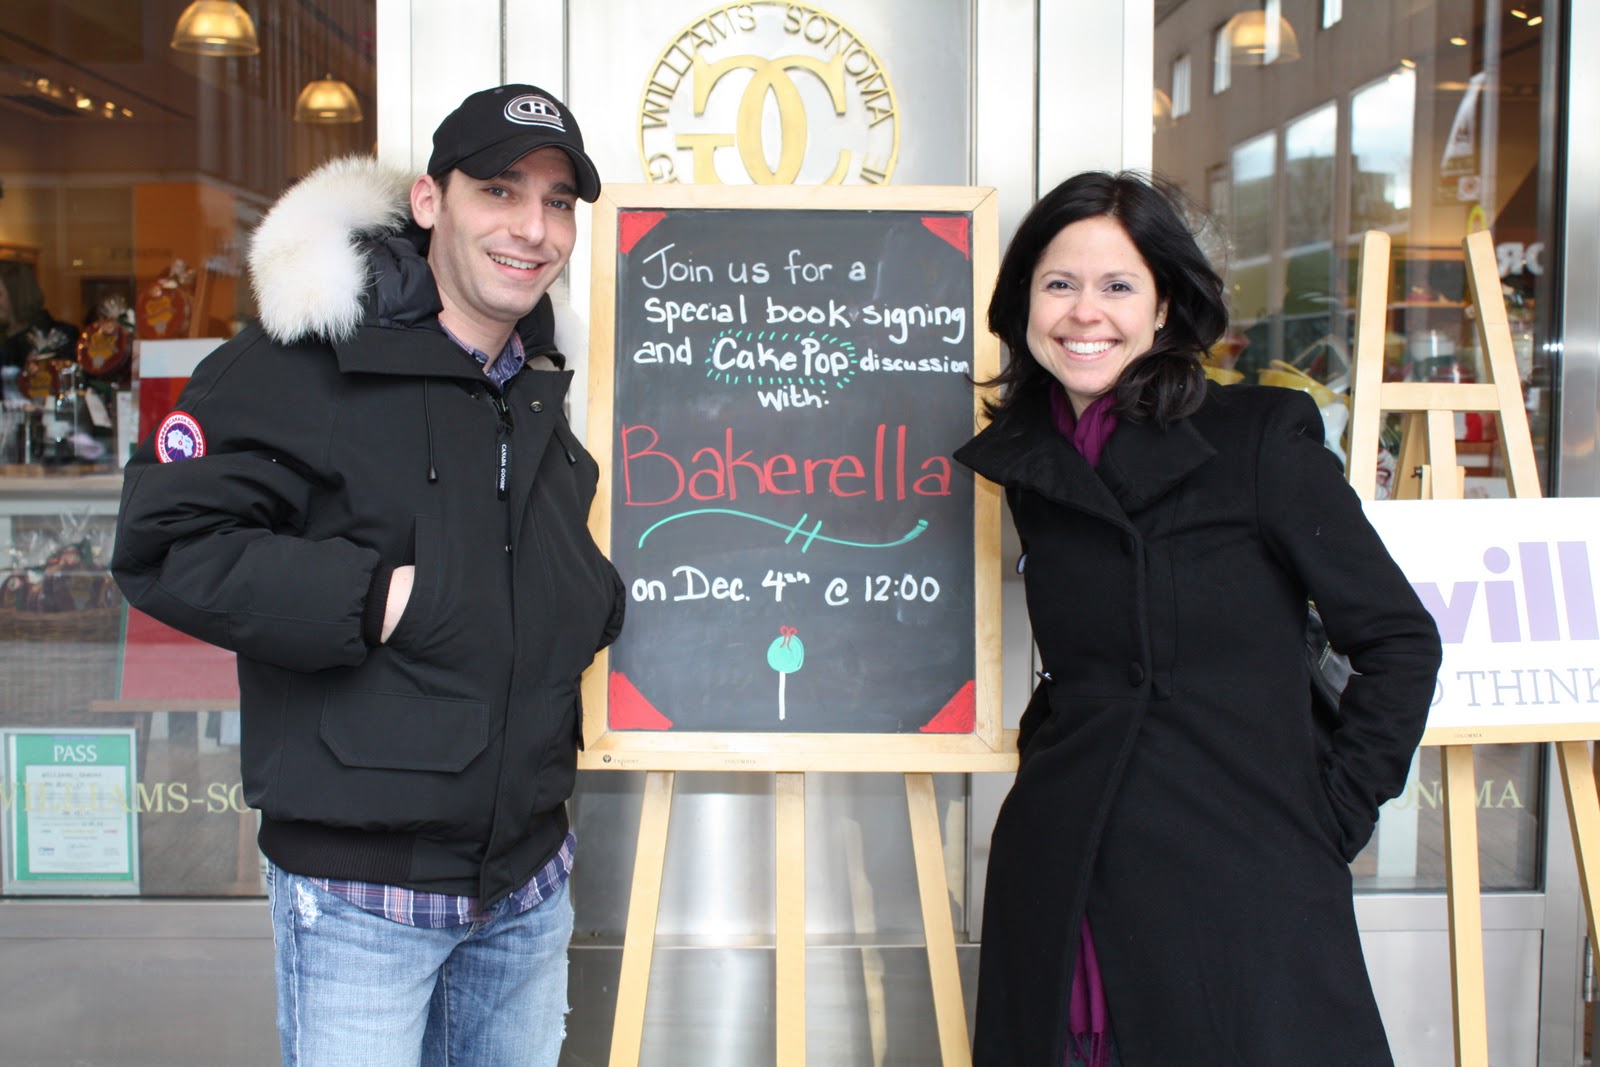
I would never in a million years have thought that this would lead to this! Which would lead to this followed by this!  This brings us to December 4, 2010.  The day that Rich and I met Angie Dudley, a.k.a. Bakerella! 

Saturday Morning:
Saturday began with a thrill for Rich and I since Bakerella was in town for the signing of her new book, Cake Pops.  All of the excitement took place at Williams Sonoma on Bloor Street. 

What was even more exciting...
As soon as we got to the store, the employees at Williams Sonoma knew exactly who we were (once Rich mentioned our names) and led us upstairs to meet with Bakerella.  She gave Rich the biggest hug and began to tear up as soon as she saw me. It was the first time we had met in person.  She is definitely one of the sweetest people we have ever met.

Beside her in the photo above is Roseanne Dela Rosa, associate editor of Weddingbells magazine.

As soon as she finished her interview with Angie, she interviewed Rich and me for an article she will be writing for an online feed of Wedding Bells. That was pretty cool! Rich was super excited!

Saturday Afternoon:
By this time, it was well after the noon hour. After Angie answered many questions from her fans, she began the signing...She brought Rich and I right to the signing area (no line up for us). I noticed one girl whisper to her mom, "Mom, that's the couple who got married on Bakerella's site!" That was hilarious!  As we sat beside her so she could sign the book, she asked all of the fans in line if they remembered us.  No joke, people actually started cheering. It was nuts! We were a famous couple...for a few minutes anyway! 

The message written in fuchsia pink was perfect!

In this shot, she was eyeing my labels on the back of the cupcake sugar cookies I baked for her.

These girls were by far the most creative "gift bakers." Carolynn, (in the middle) drove in all the way from Ottawa just to have her book signed and meet Bakerella.

She and her friend Candy created their own original "Canadiana" to welcome Bakerella to town.  They included the most amazing moose and beaver cake pops! (Way, way more creative than my cookie pops.)

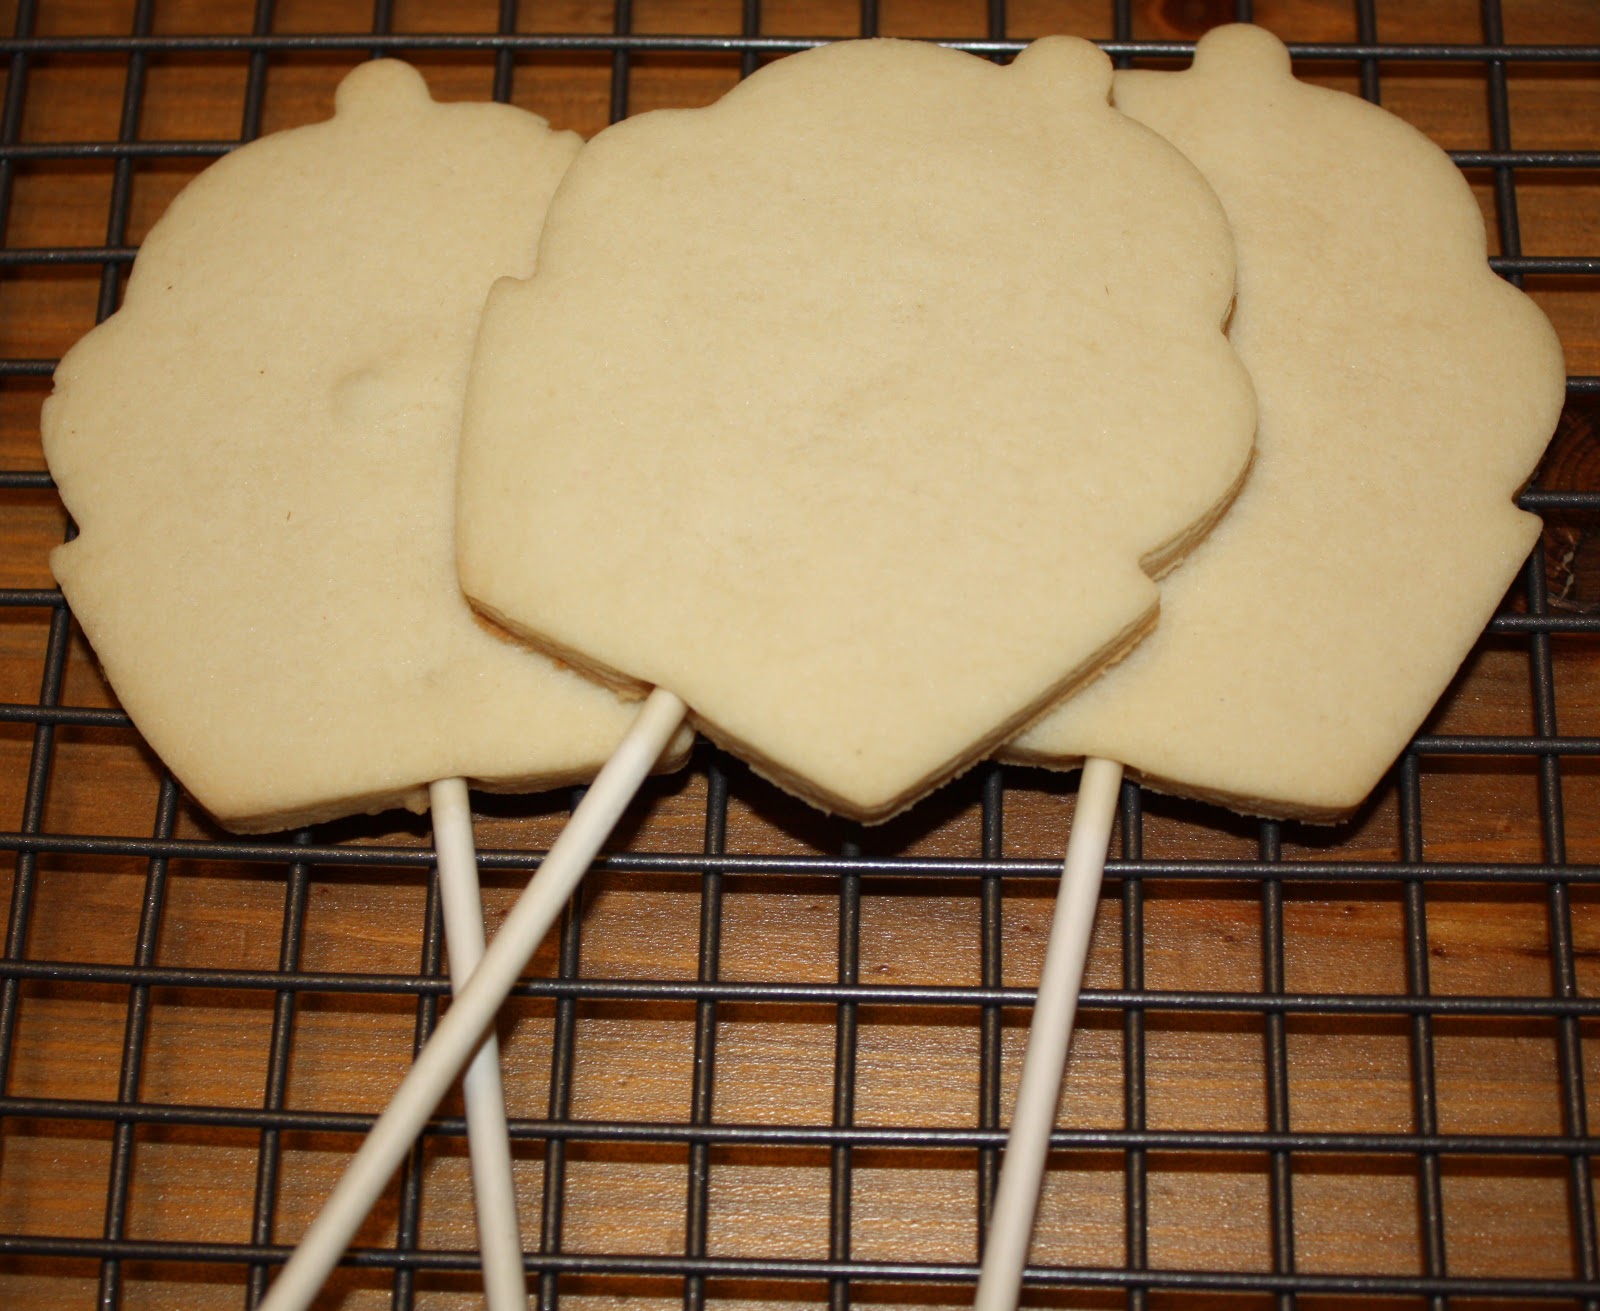
For those of you who would like a lesson on these cookie pops...here goes...they were were pretty simple to make.

I decided on cupcakes since Bakerella loves everything cupcake!

I used a skittle for the cherry on top and stuck it to the cookie with royal icing.

Then, I piped and flooded the cookie with more icing and added a few sprinkles as a garnish! Simple as a cupcake!  For my sugar cookie recipe, click here. For the recipe I use to make royal icing, click here

Saturday Evening:

Saturday evening was the "icing on the cupcake!" The rumours are true.  We went out for dinner with Angie and her mom!  And we had a blast! All joking aside people....Rich and I had dinner with BAKERELLA! We went out for dinner with the next Martha Stewart! The picture above was awesome...how funny is her mom?!  She was cracking up because as soon as our dessert, (buttery, phyllo pastry crepes filled with melted white chocolate and fresh blueberries) arrived at our table, Angie and I both took out our cameras and began shooting photos! I got a great shot of her taking a picture of the dessert!  

What a day!  It certainly was a memorable one for us. Thanks Angie, for including us in your first trip to Canada. We hope to meet again, perhaps on your next book tour?! 

Have you ever met a star before?

Sunday, December 5, 2010

Happy Chanukah!

It's that time of year again when the holidays begin and the eating makes us all feel good!

I baked these sugar cookies for our family Chanukah dinner. The decorated ones were given to me as a gift from my former student, Rebecca.  She also gave me gorgeous decorated Chanukah cookies last year that tasted just as good as they looked! 

I think that I have perfected making potato latkes! This was my third and final time making them this week.  But all joking aside....they really are delicious. For the recipe I use, click here. This year I added a few pinches of paprika to the mix. It added some flavour and color to the latkes.

Tonight is the fifth night of Chanukah so five candles are lit.
Happy Chanukah!

Sunday, November 28, 2010

30th Birthday Cookies

We officially welcomed the last of my girlfriends to "Club 30" last night.

What a fun night out!

This one is for you Adrienne...

And this one is for you Carly!

For my favourite sugar cookie recipe click here.
To learn how to make royal icing, click here.

Happy Birthday Ladies!

Sunday, November 21, 2010

Cookies for Julie's Baby Shower

My friend Julie had a Baby Shower today.  She is due in January.  She is keeping the sex of the baby a surprise. So, I stuck with her favourite color, blue, and combined it with yellow.

Love the ducks...my latest cookie experiment. I bought so many animal cutters over the summer and love this little "rubber ducky" cutter.

Pipe...then flood...
Really adorable...

Baby Z...will you be a boy or a girl?
Happy Shower Julie!

Sunday, November 14, 2010

How to Dry and Store Your Cookie Cutters

There are so many cookie cutters out there!  I began my collection quite a while ago, but it has multiplied significantly over the past few years. No one really told me how to organize my cutters. Here is what I have come up with.  But before I explain how I organize my cookie cutters, I'll explain how to prevent metal cutters from rusting. 

After using any cutters, I always soak them in a bowl with warm water and soap.  I then clean each cutter with a sponge and more soap and water to ensure that all of the grease is removed. 

A great tip that I learned from the book Cookie Craft is how to keep metal cookie cutters and icing tips from rusting. 

After individually washing and towel drying each cutter, place metal cutters on a cookie sheet, cut side down. Next, place the sheet in the oven for 10 minutes at 200 degrees. This will absorb any remaining moisture.

Finally, set warm cutters on a towel to cool before putting them away.

The way that I organize my cutters is usually by theme. I write the name of the theme on a Ziploc bag and store the bag in a plastic container.  Inside the front of the container I write down the names of the themes on a piece of paper facing outward. 

This way, I can see which cutters are in which container.

Other suggestions may be to organize your cutters by shape or size.
Hope this helps!
Melissa :)