Search This Blog

Friday, April 22, 2011

Spring Cake Pops

Happy Spring and Happy Easter
to those of you who are celebrating this weekend!

 As soon as I saw these mini cookie cutters,
I knew they would be perfect for making cake pops.

For basic cake pop instructions, click here.

After chilling the dough in the fridge,
I used the cutters to cut out these adorable shapes.

Then, dipped the pops into white
candy melts and added some butterfly sprinkles.

The flowers all turned out really well...

But my favourite, was the butterfly.

Enjoy the long weekend!

Wednesday, April 20, 2011

Lemon Cheesecake Squares (for Passover!)

How would you rate these cheesecake squares for Passover originality? 

Who knew that Kraft even made a kosher for Passover line of Philadelphia cream cheese?  I happened to stumble upon these two packages at the grocery store the other day and found the idea for this recipe inside the package. With a little twist of my own, it appeared at my second seder for dessert!

First, I combined a little cake meal, matzo meal, sugar and margarine for the crust and pressed it into an 8x8 square dish.

Then, I followed the cheesecake recipe from the inside of the box, poured it over the crust and baked it in the oven for 25 minutes.

Shhhh...Don't tell anyone...it was so easy!

And so delicious!

Try it!

Passover Lemon Cheesecake Squares
(Adapted from the Philadelphia recipe)
Makes 16 Servings

For the Crust
2/3 cup cake meal
2/3 cup matzo meal
1/4 cup sugar
4 Tbsp. melted margarine 

For the Cheesecake
2 pkg. (8 oz. each) Philadelphia Cream Cheese softened
1/2 cup sugar
1 tsp. zest and 1 Tbsp. juice from one lemon
1/2 tsp. Passover vanilla
2 eggs (room temperature)

MAKE IT
Heat oven to 350.  In a small pot, melt margarine at medium-low heat. Remove pot from burner and add cake meal, matzo meal and sugar.  Mix together until combined. Press onto bottom 8-inch square pan sprayed with cooking spray.

Beat cream cheese, sugar, lemon zest, juice and vanilla in a large bowl with mixer until well blended. Add eggs, 1 at a time, mixing after each just until blended. Pour over crust. Bake for 20 to 25 minutes until center is almost set.  Cool completely. Refrigerate for 3 hours.

Enjoy!

Sunday, April 17, 2011

Ryan in the Kitchen - Passover Chocolate Chip Cookies

Yes...these really are kosher for Passover! Don't they look good?

Of course they do, because my partner in crime helped me make them!

He began by helping me crack the eggs. First, we tapped the egg on the counter.  Then, cracked it in half into a mug. Finally, Ryan poured it into the mixing bowl. He loved watching the mixer combine all of the ingredients and found it very funny that he could see his reflection in the bowl.

Once all of the ingredients were mixed together, he poured in the chocolate chips.

Time to fold them in!

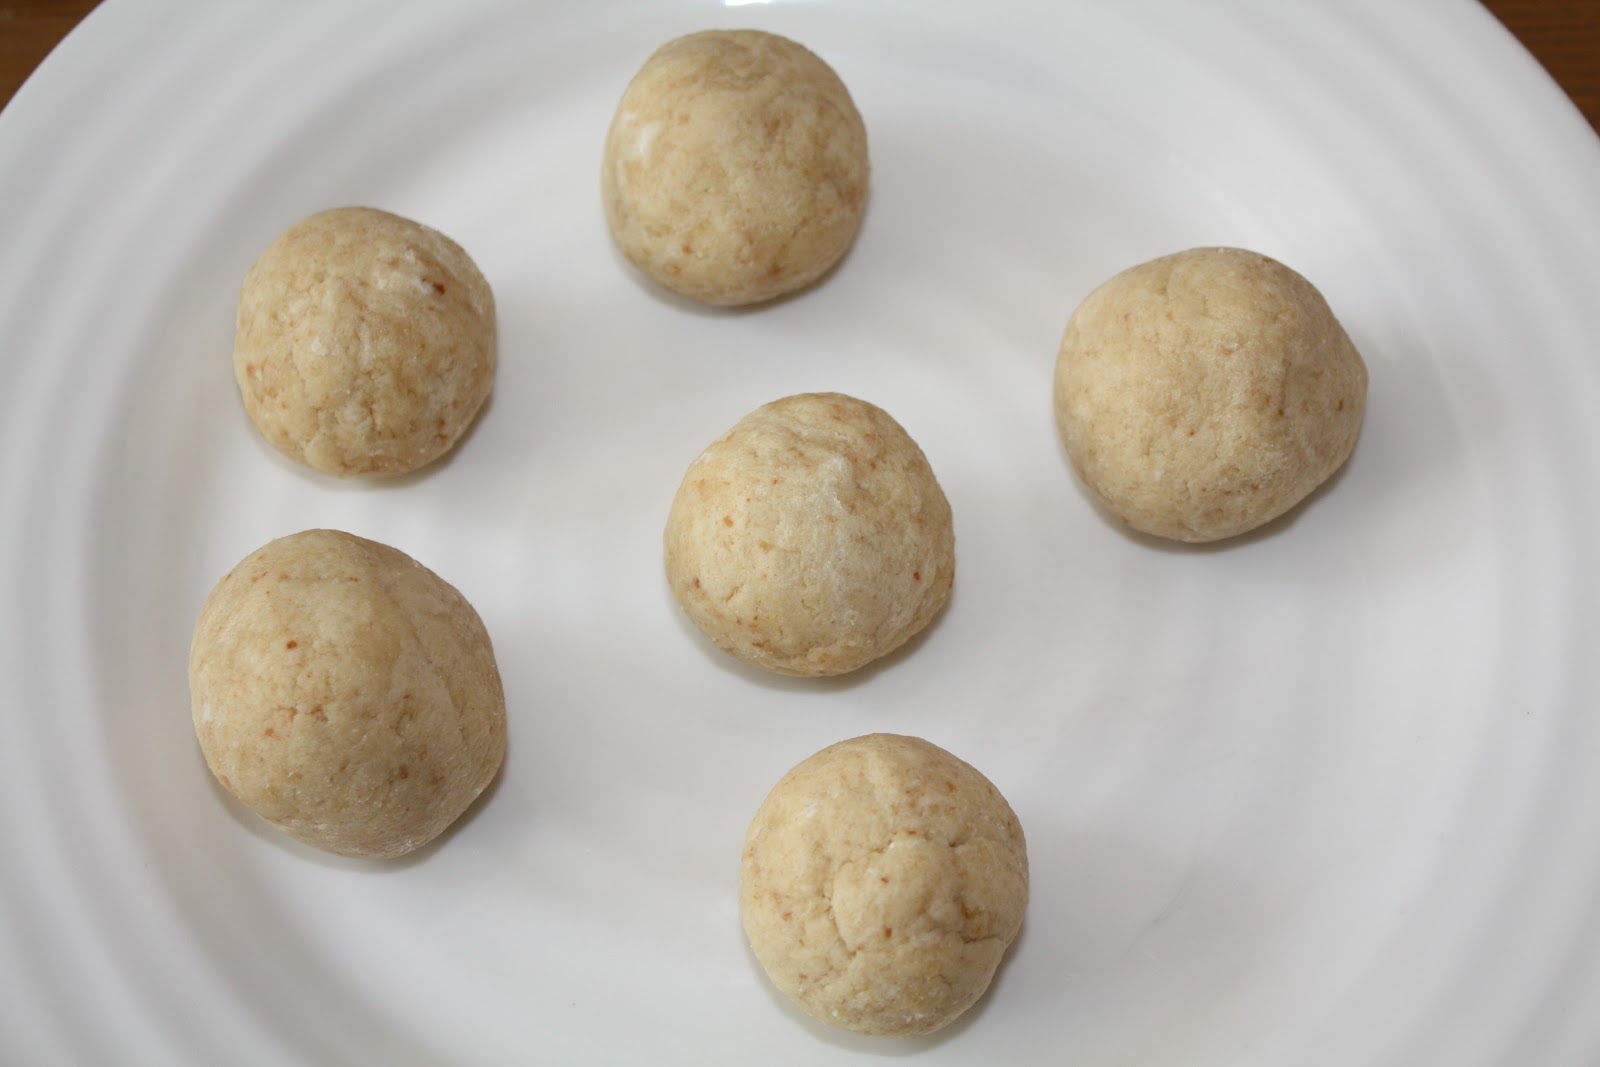
After the dough chilled in the fridge for an hour, (and Ryan went home) I continued to make the cookies.  Since they expand ever so slightly, if you use this recipe, it is important to flatten out the cookies before baking.

They looked and tasted delicious.

To add even more sweetness, try drizzling some melted white chocolate overtop.

Jewish Holiday Baking by Marci Goldman is a cookbook that I bought a few months ago. She has a number of yummy desserts for Passover in this book as well as for many other Jewish holidays. The recipe for these cookies can be found in this book.

Here is her recipe for Crisp and Chewy Chocolate Chip CookiesMakes 4-5 dozen cookies

Ingredients
1 1/3 cups brown sugar
1/2 cup white sugar
1 tablespoon Passover vanilla sugar
3/4 cup unsalted butter or margarine
2 eggs
1/2 teaspoon salt
1 cup matzoh cake meal
1 cup potato starch
2 cups chocolate chips

Directions
In a large mixing bowl, cream all three sugars with the butter or margarine. Blend in the eggs. Stir in the salt, matzoh cake meal and potato starch. Fold in the chocolate chips. Chill the dough for 1 hour or overnight for chewy style cookies; (I made these ones!) do not chill for thin and crisp cookies. 

Preheat oven to 350 degrees. Line 2 baking sheets with parchment paper. Scoop out generous teaspoonfuls of dough. Place on the baking sheet leaving room for the cookies to spread. If using cold dough, press a little; if using fresh dough (not chilled), do not press down.

Bake for 12-15 minutes. Let cool. Use a spatula to remove from baking tray. Enjoy!

For more Passover dessert ideas click on the links below:


Have a happy Passover!

Sunday, April 10, 2011

Camera Cake

It was Rich's Uncle's birthday yesterday.  Since he is a photographer, Rich commissioned me to make him a camera cake! That husband of mine...he has so many good ideas! 

Let me remind you that I am not such an experienced cake maker/designer. The first fondant cake that I made was a Montreal Canadien's Cake for Rich's birthday last year.  The second one that I made was a cake for my mom's 60th a few months ago. So...I guess this would be my third attempt at being the Cake Boss. This project was different though.  It involved making a cake in the shape of an actual camera. Here's how I did it.

First, I traced my own camera on a piece of green cardstock, cut it out and made it into a stencil. Next, I placed it on top of the rectangular cooled cake and cut around the edges of the stencil with a knife.  This created the first layer. I repeated this step to create a second layer. I smeared chocolate fudge frosting on the first layer which acted as glue that held the two layers together. To create the "camera lense," I cut out a circle using a circle cookie cutter and attached it to the main part of the cake with toothpicks.

Dirty icing the cake adheres the fondant to it.  This part was really messy!  Note to self, when dirty icing a cake, stick to vanilla frosting!  The chocolate frosting seemed thicker than vanilla, and made a big mess! While the cake chilled in the fridge, I prepared the fondant.

To make black fondant, I added about 2 teaspoons of Wilton black Icing Color to white fondant. Remember to always wear gloves to colour fondant!  
I melted some white candy melts and put them into a piping bag to pipe some other details.

The cake really began to take shape.
For an amateur, it looked alright!

Rich was really impressed.

But George's reaction was priceless!  He was thrilled and did not want to eat the cake!

The photographer in action!

Have you seen any of George's work before?  He is a very talented landscape photographer. Check out the trailer for one of his DVDs, Unforgettable Canada.  The photos in the DVD are from his best seller, "Unforgettable Canada" that sold over 50, 000 copies.

It was hard to cut into the cake, but we managed!
Happy Birthday George!

Sunday, April 3, 2011

Cupcake Pops

I am on my own little cake pop journey! Recently, I entered the world of cupcake pops, which upon my first attempt failed miserably. However, with the help of My Little Cupcake's Cake Pop Mold, (don't kill me Bakerella!) I have finally mastered how to make a "cupcake" pop!

I stumbled upon Jeanette's blog by fluke one day when I was searching images online. All of my searching led me to her website with the cutest step by step video of her daughters demonstrating how to make "No Bake Cupcake Pops" using the mold their mom created.

This post doesn't follow their suggested no bake recipe using crumbled Oreo cookies and cream cheese to form the balls, but it is a definite must for another post!  For these cake pops, I used vanilla cake with vanilla frosting. For a basic cake pop tutorial, click here

Here is what the mold looks like when it is open. Unfortunately, this product is not carried in Toronto, but my mother in law picked one up for me at a bakery in Montreal called Cho'cola.

 
I was very excited to use my new mold! The steps were pretty simple.

This is what the cupcakes looked like before they were dipped and made into cupcake pops.

Here's how I did it!
Making cupcake pops is a two part process. First, dip the bottom of the cupcake in a chosen color of melted candy coating. 

Once the extra coating has dripped off, dip 1/4 inch of the stick into the melted coating. Then, insert the stick no more than half way into the bottom half of the cupcake. 

A plastic egg carton is a helpful item used to place all of the dipped pops, before dipping the top part of the cupcake.

Next, melt a different coloured candy coating, (I used blue candy melts)
and dip the top part of the cupcake into it. Tap off excess coating.

Add decorations immediately. I used a Smartie for the cherry and Cake Mate Rainbow Decors for the sprinkles. The wet candy coating allows for all of the sprinkles to stick to the cupcake pop. The reason why I had the big white bowl under the cupcake pop was so that all of the extra sprinkles would fall into the bowl and I could reuse them afterward.

Ta Da!

Aren't they cute?

I think so.

Hope you do to.

Package and give away!