Search This Blog

Sunday, March 27, 2011

Monogrammed Baby Cookies

A is for Audrey! Our friends Jeff and Julia gave birth to a baby girl named Audrey a few weeks ago.  I tried something new by adding a monogram of the letter A on top of flooded royal icing. 

To make all of the letters as uniform as possible, I printed a sheet of letter A's from the computer and traced them onto parchment paper using Wilton (chocolate) Candy Melts. Royal icing can also be used for the same purpose.

The letters took not even 5 minutes to dry.  As you can see above, they peel off very easily from the parchment paper.

Once the cookies dried, the letter A was added by using some royal icing as glue.  For the recipe that I use to make royal icing, click here.

Had I been a little more organized, I would have applied the letters to the cookies while the icing was still wet. 

Both ways will work, but the second way is a little more efficient and will allow for the letter to adhere to the cookie more securely.

We are so glad to have a little girl in our "crew."
Congrats, Jeff and Julia!

For my favourite sugar cookie recipe, click here.

Sunday, March 20, 2011

Cake Pops for Kelly's Birthday

My brother's girlfriend Kelly celebrated her birthday a few weeks ago.  We made a cake pop bouquet for the dessert table.

The cake balls look like matzah balls! Don't you think?

The turquoise blue colour looked great!

Kelly was very proud of herself. This cake pop experience was a success!

To display the cake pops, I filled a martini shaped glass with granulated sugar.

Then placed each pop inside one at a time.

Kelly loved the pops, as well as the apron and Cake Pop book my sister and I bought for her.

The cake pops tasted delicious.
To learn how to make your own cake pops, click here.
Happy Birthday Kelly!

Tuesday, March 15, 2011

Hamantaschen Part 2 - Baking with Ryan

Warning...
Cute alert, cute alert! 

When Fay gave me extra dough and filling to make more of Bubbi Hanka's Hamantaschen, I knew that I needed some help. Ryan and I had a date!  We made our own version of Bubbi Hanka's Hamantaschen with poppy seed and blueberry filling, and a round, scalloped edge cookie cutter. I was impressed with the final product of a two and a half year old! We made a great team.

We began by working together to roll out the dough...

Until Ryan wanted to try it on his own! The rolling pin was bigger than he was!  I tried to buy him a kid's sized rolling pin and apron, but had no luck.  Any suggestions of where to go?

He did such a great job using a cookie cutter to cut out the circles of dough.

Then he spooned the filling into the center of each circle.

Although he thought it was a little messy, he managed to squeezed each corner together.

"Ready for the oven!"

"Yummy! I made hamantaschen!"
Thanks Ryan...I had so much fun baking with you!

For the recipe and step by step instructions of how to make Bubbi Hanka's Hamantaschen, click here.

Sunday, March 13, 2011

Bubbi Hanka's Hamantaschen

Hamantaschen are triangular filled pastries which are traditionally served on the Jewish holiday of Purim. This year, Purim falls on Sunday, March 20, 2011. The word hamantaschen derived from two German words: mohn (poppy seeds) and taschen (pockets).  Hamantaschen means "Haman's pockets." Haman was the villain of Purim as described in the book of Esther. The most popular explanation of why people eat this three cornered pastry on Purim is that Haman wore a three-cornered hat.  Eating an image of Haman's hat is a way to symbolically destroy his memory.

Bubbi Hanka, my cousin's grandmother, passed along her recipe for hamantaschen to her daughter-in-law Fay. Today I learned how to bake hamantaschen with Fay and her daughter Shonna. They sure taught me!  Fay has been making her mother-in-law's recipe for the past 20 years. (It's the only thing she really bakes!) She has perfected the measurements and reminded me that no stand mixer is used in this recipe. 

Here are the ingredients you will need to make this recipe.

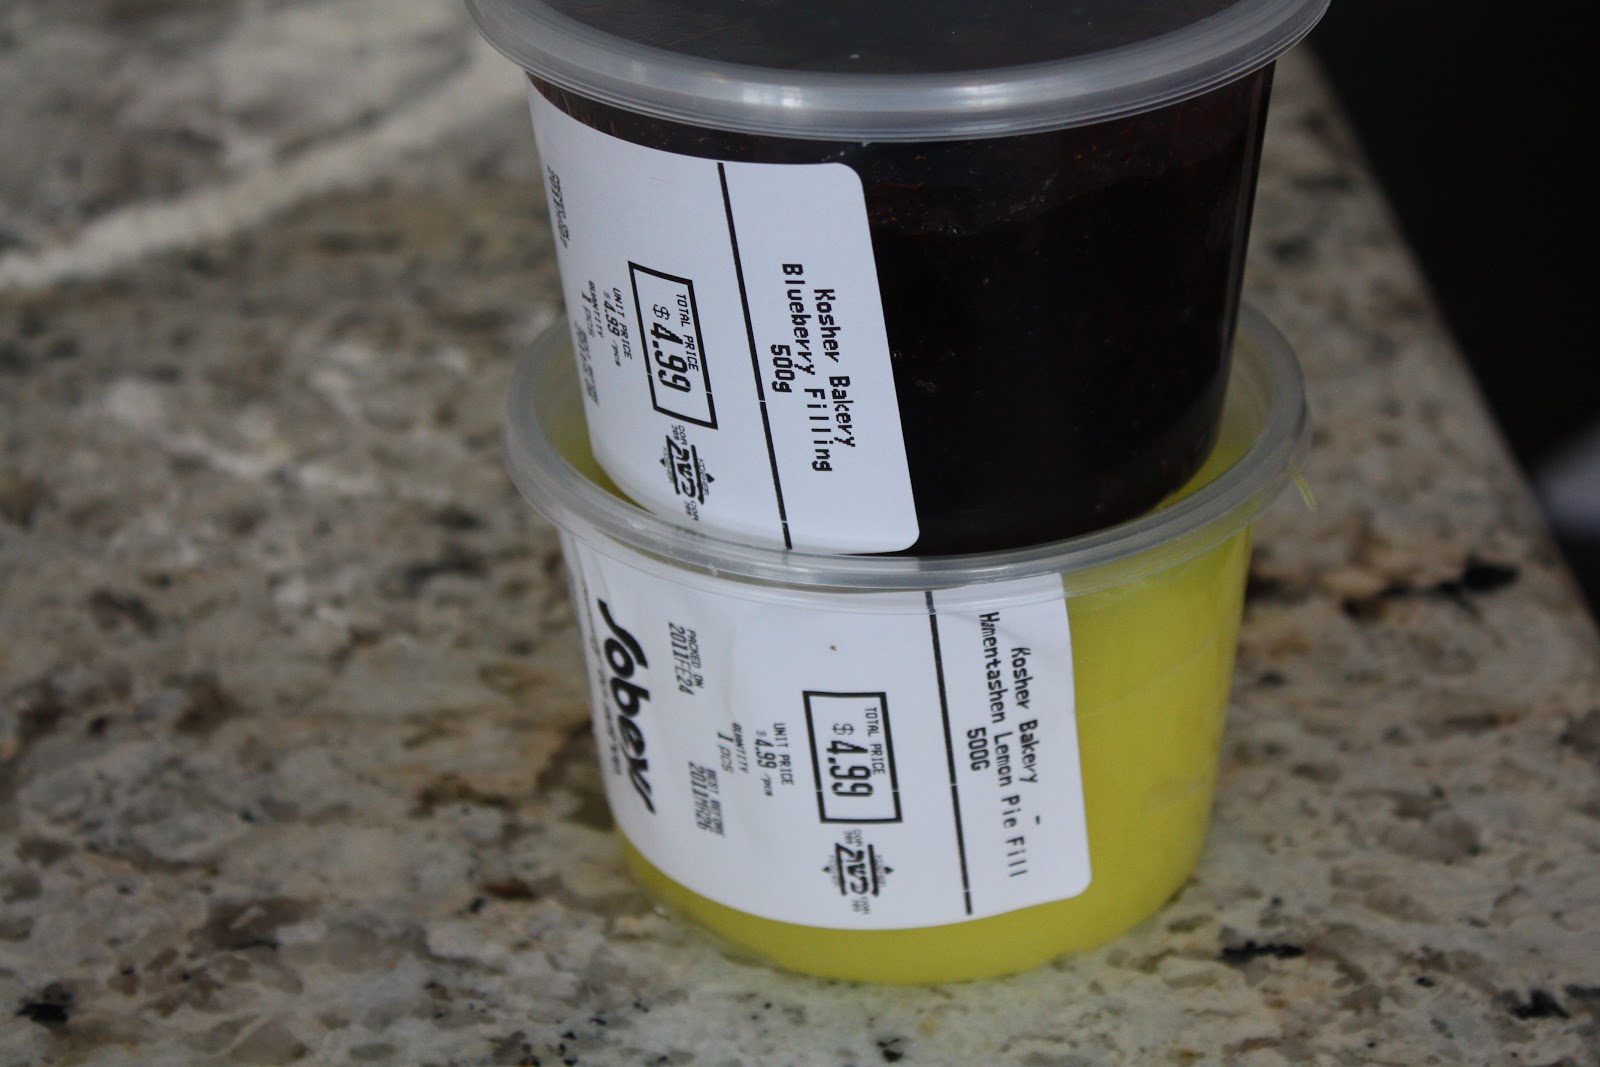
Hamantaschen are made with different fillings.  We used prune, lemon and blueberry fillings for the center of our hamantaschen.

Cracking the eggs was the easy part!

Then I got down and dirty!  Fay made me use my hands to mix the ingredients together into a ball!

This is what the dough looked like after it had chilled in the fridge for 3 hours.

To roll out the dough:
1) Cover your work surface with a generous amount of flour.
2) Divide dough into four balls. Roll out one ball at a time to a thickness of about 1/8 inch.
3) Using the top of a glass or a cookie cutter, cut out as many circles as you can.

Fill the hamantaschen with a generous teaspoonful of the desired filling.

Fold in three edges of the circle to form triangles.  Take note of the placement of my two thumbs.  Shonna had to demonstrate this for me a couple of times. I was not very good at this part!  Be sure to squeeze the corners together before baking.

Repeat this process with the remaining dough and filling.

Line on prepared pre-greased cookie sheets or parchment lined cookie sheets.

Bake in the center of a preheated oven at 350 for about 20 minutes until golden brown. Let cool and serve!

Bubbi Hanka's Hamantaschen
(Makes 4-6 dozen)

Dough
1 cup sugar
1/4 cup orange juice
1/2 pound (2 sticks) unsalted butter
1 tbsp vanilla
2 eggs
Approximately 4 cups all-purpose flour
1 1/2 tsp baking powder
pinch of salt

Fillings
Poppy seed
Lemon
Blueberry
Prune: For every pound of prune filling, add one cup of orange juice, a squeeze of fresh lemon juice and combine.

Overall, we used only about 3/4 of a pound of filling for all of the hamantaschen.  However, at a kosher grocery store like Sobey's, fillings are pre-packaged and sold in 1 pound containers. The fillings can be frozen or, more hamantaschen will need to be made! 

Directions:
In a large bowl, using a wooden spoon, combine all of the ingredients except the flour.  Add flour one cup at a time and mix with hands.  Knead together until fully combined and a soft but firm ball of dough is formed. Wrap in foil and refrigerate for 2 to 3 hours. Let it rest on the counter for 5-15 minutes.

Preheat oven to 350 degrees. Spray baking sheets with non stick spray or line with parchment paper. 

Divide dough into 4 balls.  Roll out on lightly floured surface to a thickness of about 1/8 inch. Cut out 3 inch circles using the top of a glass or a cookie cutter. Fill with a teaspoonful of filling and shape into an open triangle. Bake until lightly golden, about 20 minutes.

Enjoy! 
Thanks Fay and Shonna for teaching me how to make Hamantaschen.

Stay tuned for a kids version of this recipe later on this week when I bake with my adorable, little Ring Bearer Ryan.

Sunday, March 6, 2011

Baking and Decorating Sugar Cookies-A Two Day Workshop

I led a sugar cookie workshop for my colleagues last week! I was very excited to share with others, what I have taught myself over the past two years about making, baking and decorating sugar cookies. It was loads of fun!

I taught everyone how to roll out dough, fill a pastry bag, pipe, and flood cookies.

We used basic ingredients to make the cookies: butter, sugar, flour, salt, vanilla and eggs. For the sugar cookie recipe we used, click here.

When rolling out cookie dough, using wooden slats is one way to attain cookies of the same thickness. For a more detailed post on how to roll out cookie dough, click here

Everyone was cutting away. So many cookies were baked! The aroma in the room was delicious!

While the cookies were baking in the oven, the royal icing was tinted.  Toothpicks were used to add Wilton Colors to the royal icing. For the royal icing recipe we used, click here. So many colours were made.

The next day was time to decorate! First, I taught the group how to fill a pastry bag.

How to Fill a Pastry Bag
(Adapted from Sweet SugarBelle)
     
What you will need…
-Mini spatula
-scissors
-Wilton tip #2
-coupler and ring
-clear glass (allows you to see the color of icing in the pastry bag)
-clear disposable Wilton pastry bag
-twist tie or elastic
-paper towel
-royal icing (consistency of pudding) in a clear measuring glass

   Directions
1)   Place damp paper towel at the bottom of glass. (This will prevent tips from clogging.)
2)   Cut tip off of pastry bag. (About 3 cm.) 
3)   Place coupler into bag.  (The bag should be just a little longer than the coupler.)
4)   Place Wilton Round #2 decorating tip straight on, on top of coupler.
5)   Screw the ring on tight. (Tip should not wiggle.)
6)   To fill the bag, place the pastry bag with tip inside the clear glass.
7)   Fold the rim of the pastry bag over the lip of the glass to form an opening where the icing will be poured.
8)   Pour about ½ cup of icing into piping bag.
9)   To tie the bag, remove it from the glass. 
10)  Unfold the pastry bag and squeeze all of the icing down toward the tip. If you notice air bubbles, try to massage them out with your hands.
11)  Use a twist tie or elastic to secure the top of the piping bag.
12) Thin remaining icing to flooding consistency and pour into Wilton squeeze bottles.  This ensures consistency of colors between the piped borders and flooded icing.
      
The bags were filled and ready to be used to pipe away!

I did a quick demo showing how to pipe the border of the cookies.  After everyone piped their own cookies, they were set aside.

A small amount of warm water was added to the royal icing used for piping to thin it out to flooding consistency. The icing was then poured into squeeze bottles to be used to flood the cookies. 

All of the cookies turned out great.

They were so colourful!

Everyone was hard at work...

and so focused.

I was impressed. The cookies were set aside to dry over night.

Great job ladies!

Thanks for letting me share my passion for baking with you!